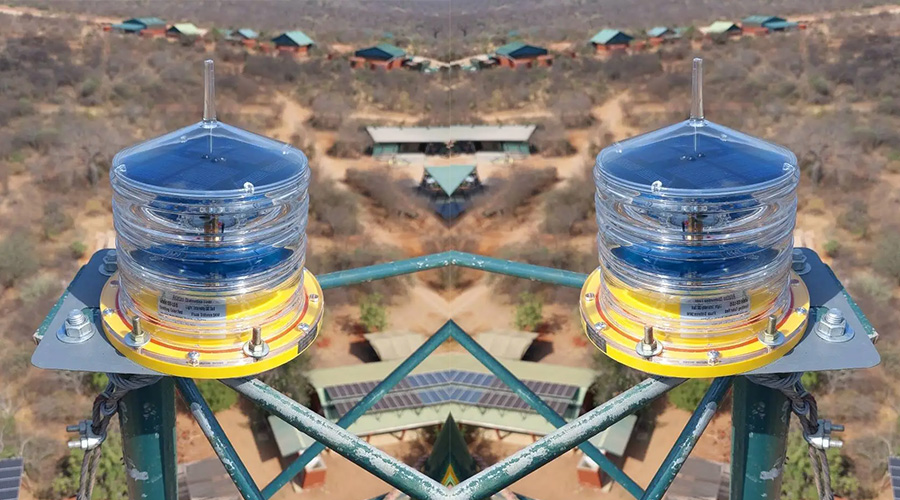
Solar low-intensity obstacle lights the installation requires choosing a suitable installation location to ensure that the lamp can fully receive sunlight, and that the installation surface is flat and has sufficient mechanical strength. During installation, the LED lights needs to be fixed on a mounting surface perpendicular to the axis of the lamp.
Installation Suggestions: Solar Low-intensity Obstacle Lights
1. Choose a suitable installation location:
Fully receive sunlight:
Solar lights must be installed in places where they can fully receive sunlight to ensure that the solar lights can work properly and that the panels can be effectively charged when there is sunlight.
Avoid shielding:
Ensure that there are no shielding objects around the installation location, such as trees, buildings or other obstacles, which will affect the sunshine time of the solar LED lights and thus affect their working efficiency.
Stability:
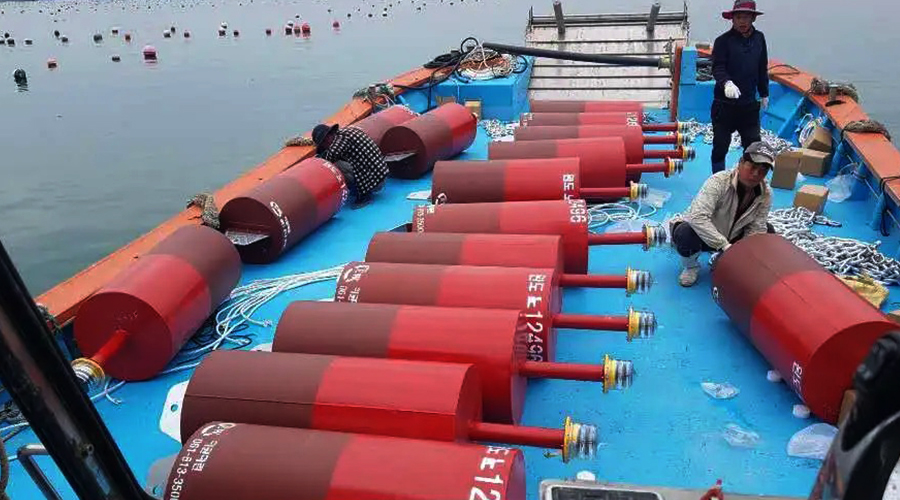
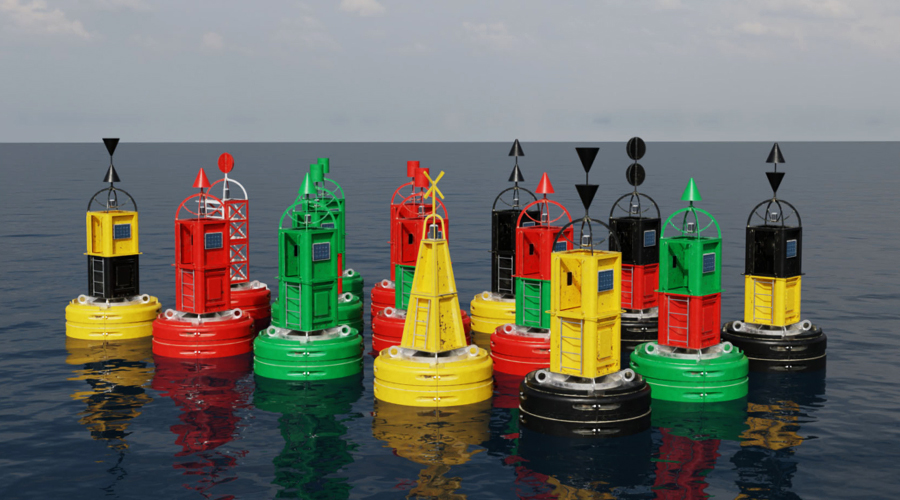
The installation location of the aviation obstruction light should be stable and not easily affected by natural environments such as wind and rain, ensuring the safety and stability of the lamp. For example, the bottom of YFFY’s high-altitude obstruction lights has mounting holes for further fixing.
2. Installation surface requirements:
Flatness:
The installation surface should be flat to avoid unevenness, so as not to affect the installation and fixing of the solar obstruction light.
Mechanical strength:
The mounting surface of the solar low-intensity obstacle lights should have sufficient mechanical strength to withstand the weight of the lamp and external forces such as wind to ensure the stability and safety of the lamp.
3. Fixing of lamp:
Vertical to the axis of the lamp:
Install the solar LED warning lights on the mounting surface perpendicular to the axis of the lamp to ensure that the light beam of the lamp can be irradiated in the target direction.
Fixing method:
According to the type of aviation lights and the installation environment, select a suitable fixing method, such as screws, clamps, buckles, etc., to ensure the firmness and safety of the lamp.
4. Precautions for first use:
Insufficient light:
If the aircraft warning lights does not light up or the light is weak in a dark environment when used for the first time, the LED solar can be placed in the sun for a period of time to replenish the power.
Debugging:
After the installation is completed, the lamp needs to be debugged to ensure that the aviation lights can work normally and meet the use requirements.
5. Other precautions:
Regular maintenance:
Regularly check the operating status of the solar high-altitude obstacle warning light and perform necessary maintenance, such as cleaning the battery panel and checking the connection wires of the lamp.
Environmental adaptability:
Ensure that the selected solar low intensity aviation obstruction light has good environmental adaptability and can withstand the influence of bad weather, such as wind, rain, high temperature, etc.
Through the above steps, the correct installation and normal use of the solar low-intensity obstacle lights can be ensured, playing an important role in aviation safety.